For events where you need to offer registration options, whether paid or free, we've made it easy!
You can create as many registration tiers as desired, and participants can pay and register directly online.
All participant information can be downloaded, with one click, right to Excel.
For peer-to-peer campaigns where registration is required to fundraise, click here to learn how you can set this up on your CrowdChange site.
To set up simple registration within your fundraiser, follow these steps:
-
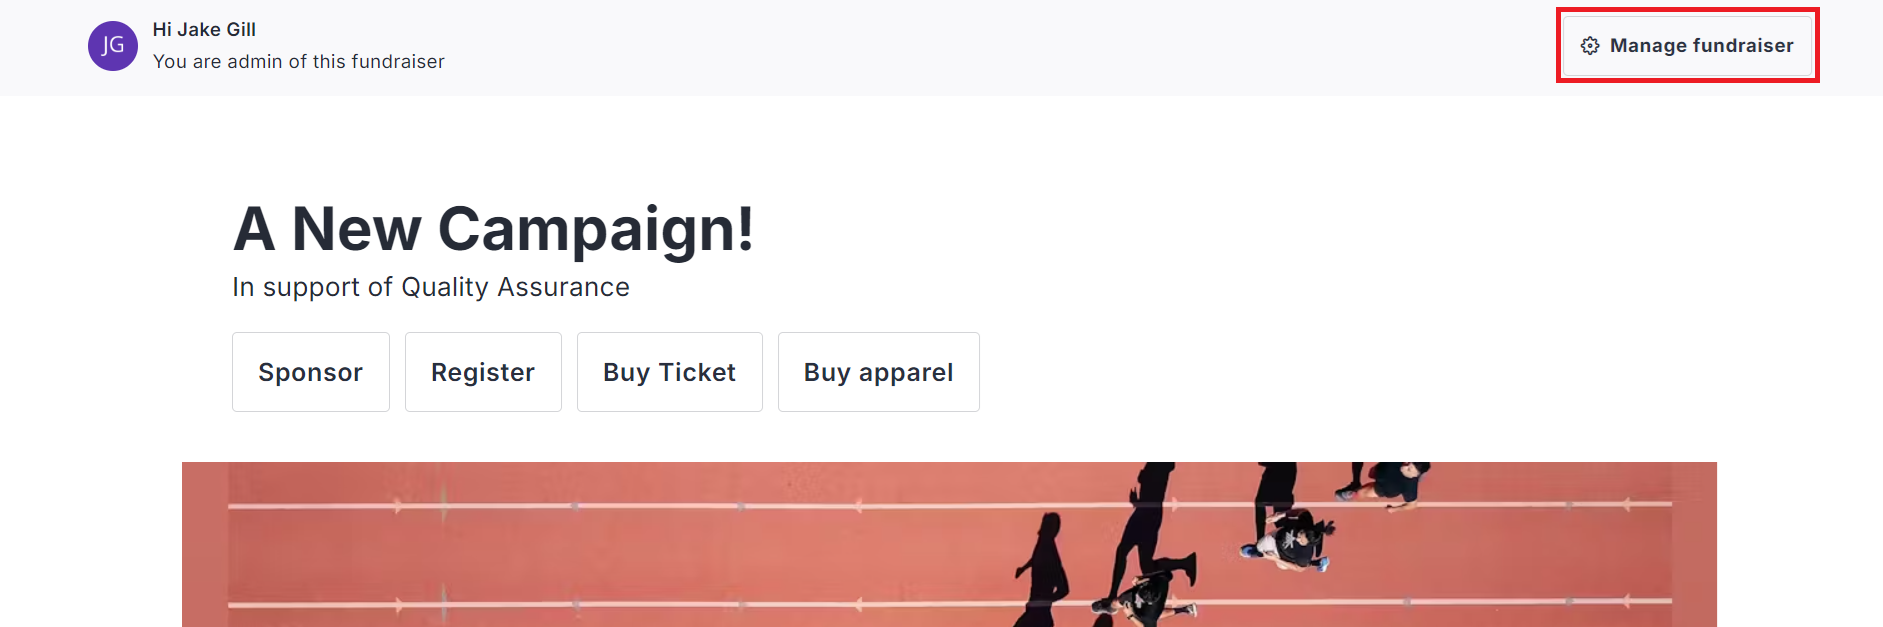
Go to your fundraiser, Log In, and then click Manage Fundraiser.
-
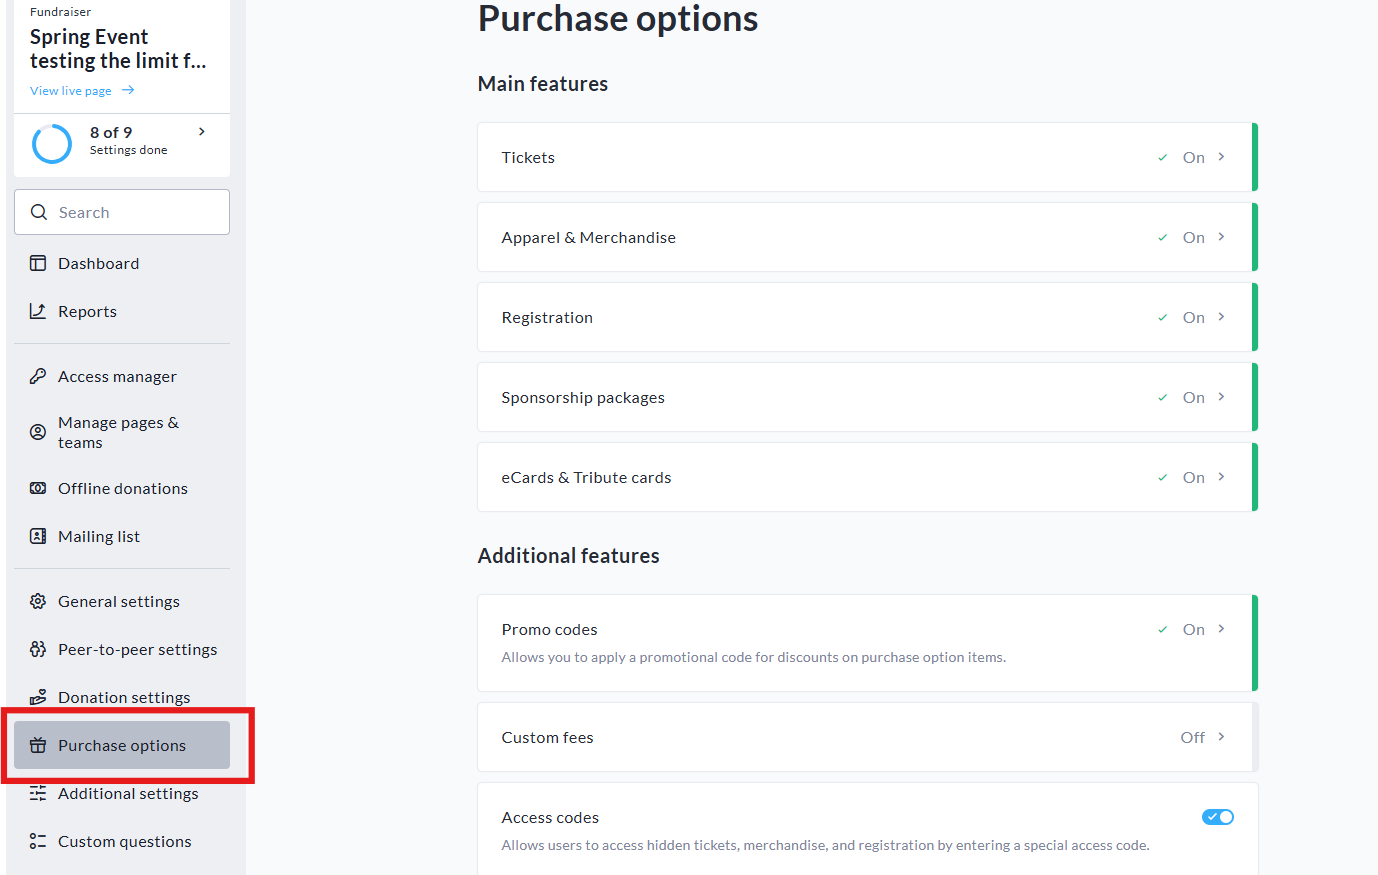
On the left sidebar, click Purchase Options.
-
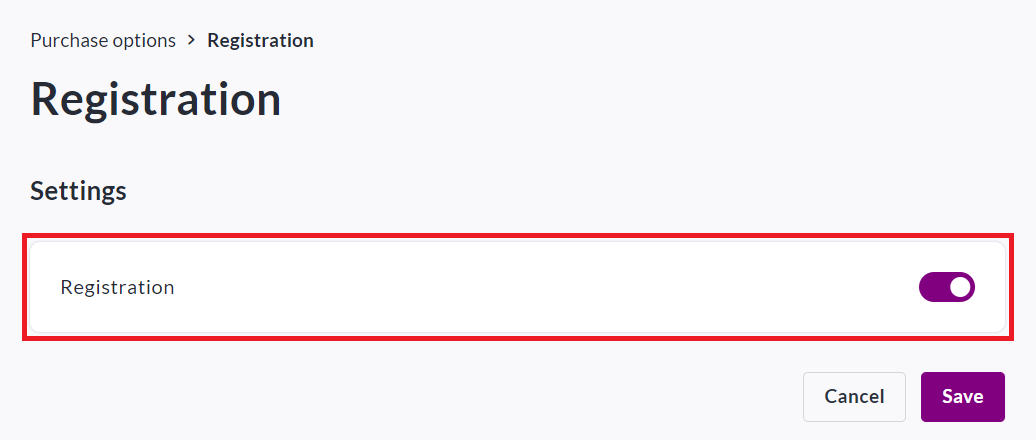
On the Purchase Options page, click Registration and toggle the feature on.
-
Click Save.
-
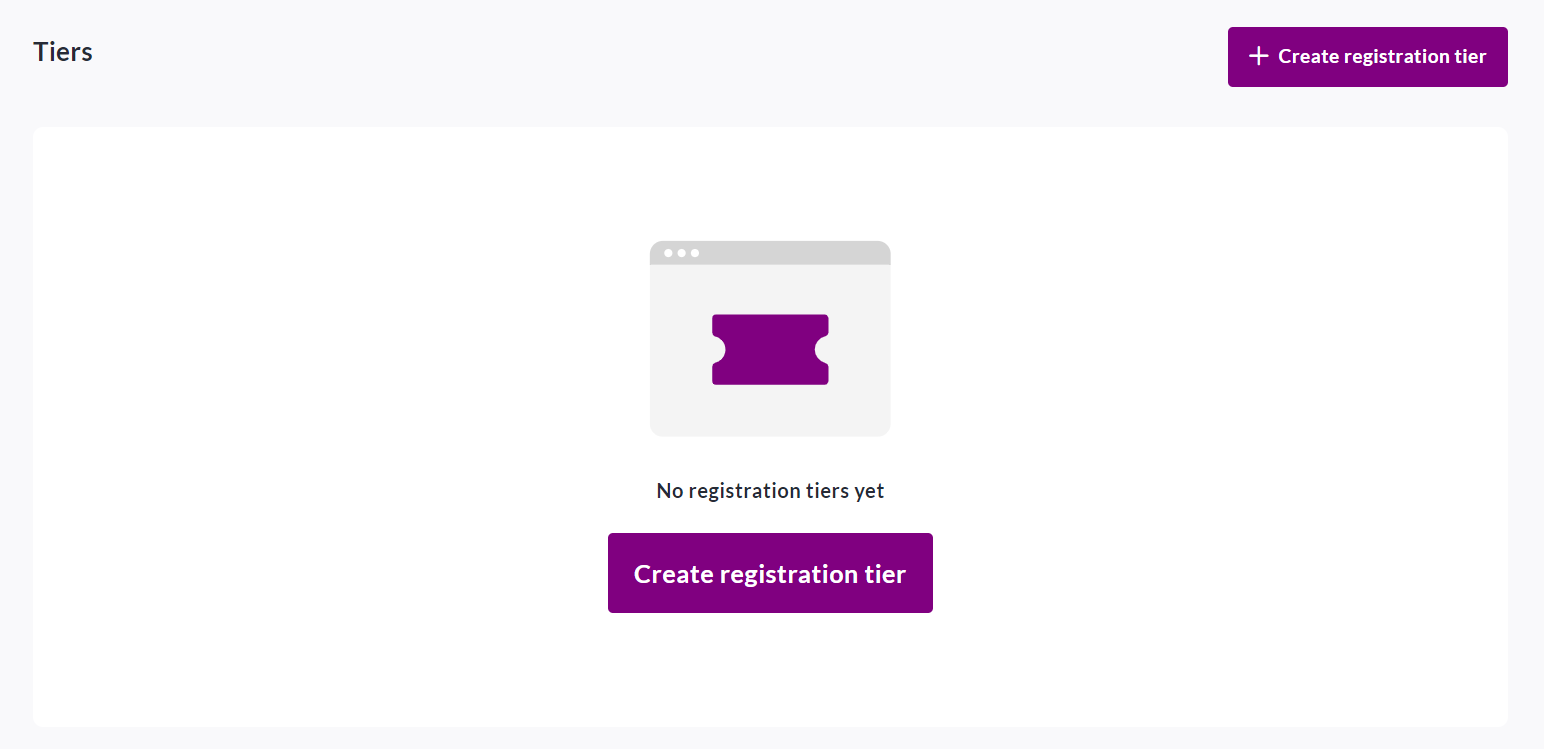
To begin setting up registration, scroll down and click Create Registration Tier.
-
Set a name, description, add variations if needed, set a price (if desired) and a limit (if desired).
*All variations will carry the same price and be part of the same limit.*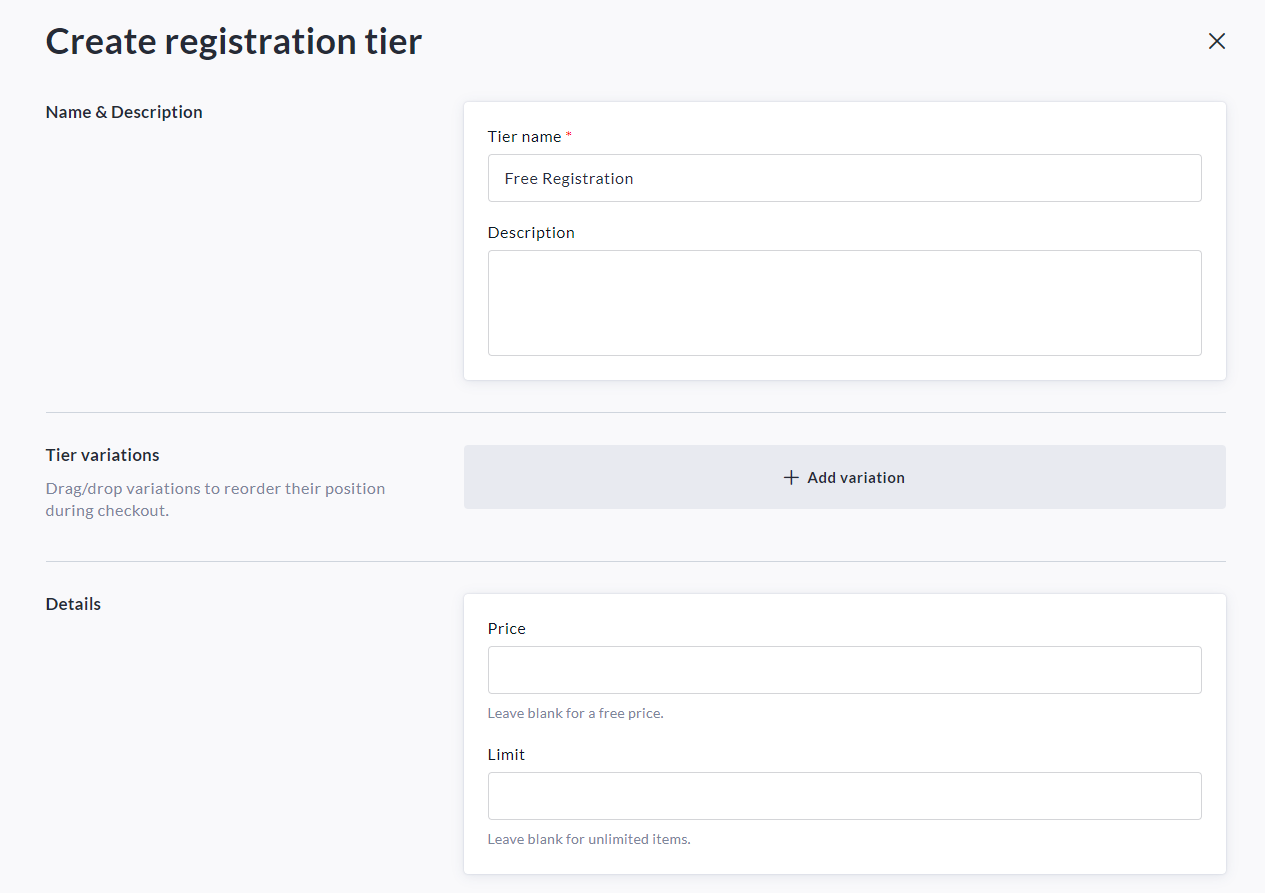
-
Set your desired availability for the new registration tier.
*If desired, you may set a date to automatically close sales.*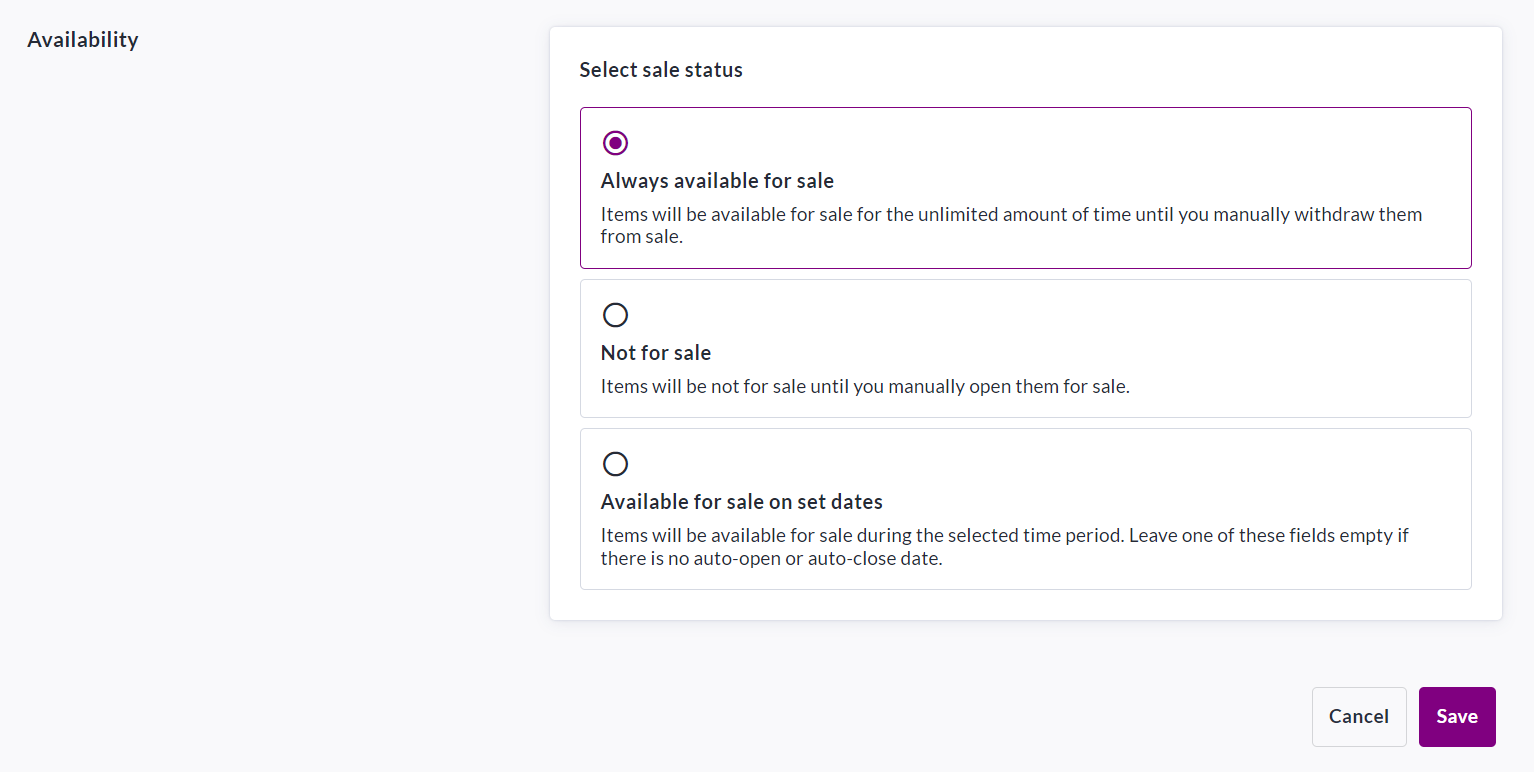
-
Click Save in the bottom right corner when finished.
As the owner of a fundraiser you will have access to all registrant details in your Donations Report. To access it, refer to the below:
Donors will receive a confirmation email once their purchase is complete.