How To Start a Fundraiser on CrowdChange
You can create a custom fundraising page on your CrowdChange site in under 5 minutes!
Simply follow the steps below:
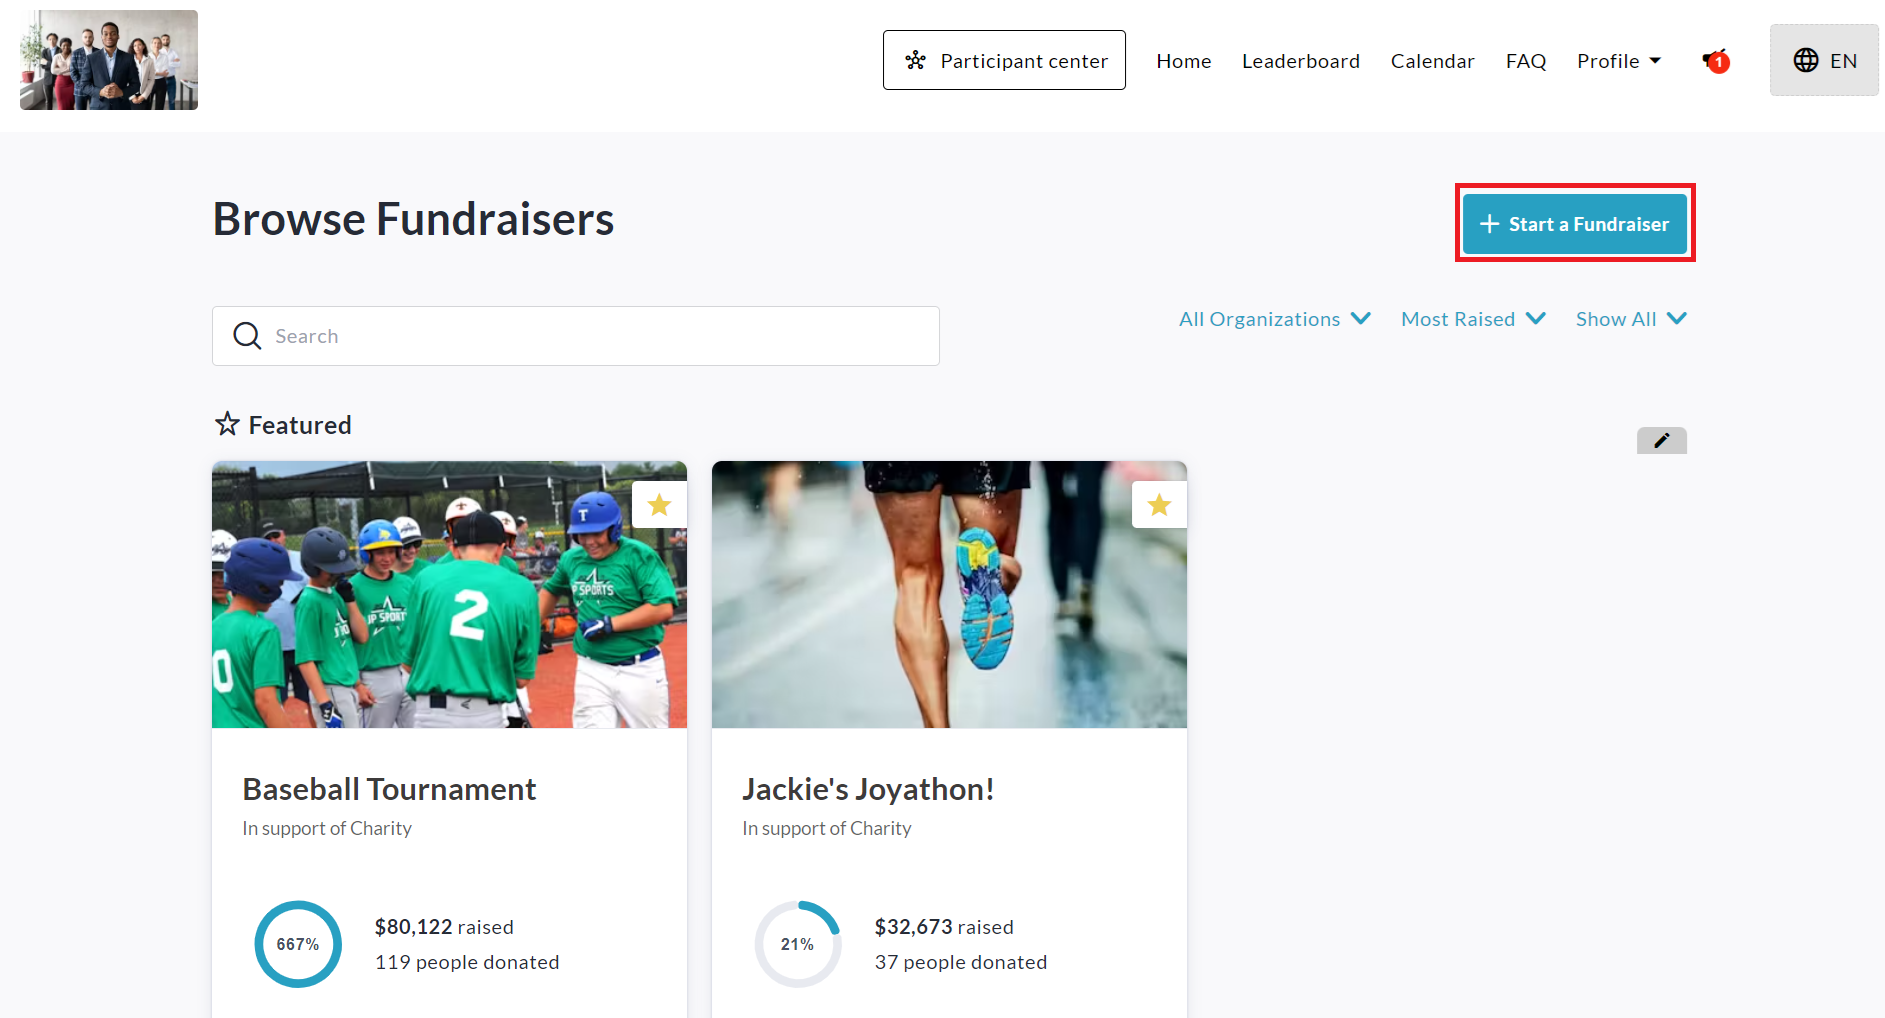
Click the Start A Fundraiser button in the top-right corner of your CrowdChange site.
Fill out the General Information page, toggling on any features you'd like to use for your fundraiser under Purchase options. For example:
Click Next and further customize your fundraiser on the Additional Settings page, enabling P2P features and more as/if needed.
Click Create Fundraiser at the bottom to sign up / log in and publish your fundraiser.
Use the Share button to get the word out to your friends & family!
Please see the following related tutorials as well:
How Ticketing Works
How Merchandise Works
How Registration Works
How Sponsorship Works (Sponsorship Packages)
How to Create a Personal Fundraising Page & Share It
How to Create a Team & Invite Members
Detailed Steps:
Click the Start A Fundraiser button in the top-right corner of your CrowdChange site.
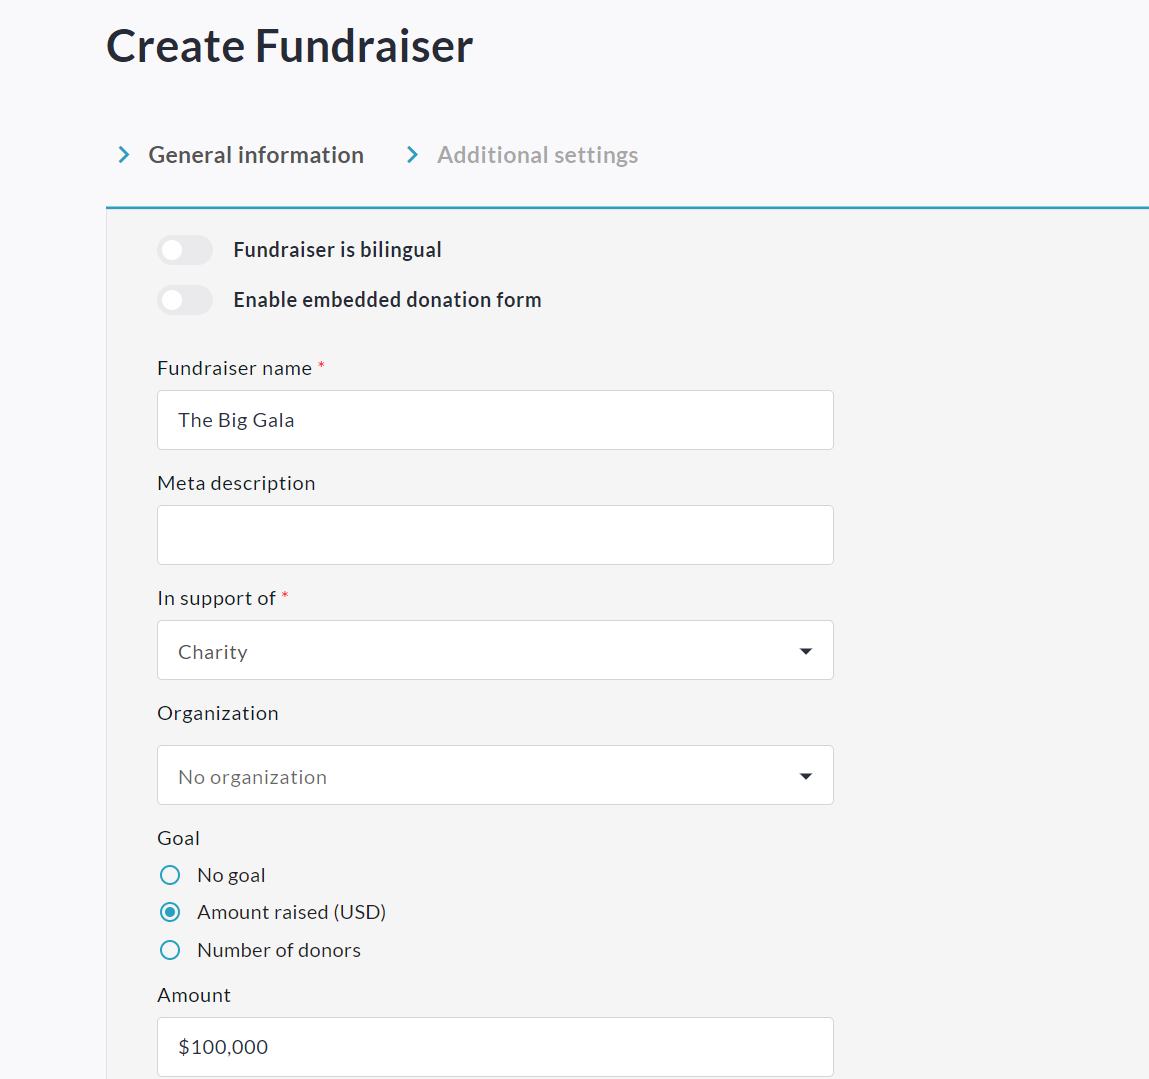
Fill out the General Information page:
Fundraiser Name - Set a name for your fundraiser that will be the main heading.
Meta description - Adds a shortened fundraiser description for sharing on socials.
In support of - You may be allowed to choose from a list of options, or type your own.
National org / School / chapter - Select your relevant organization from the dropdown menu to designate who is hosting the event.
Goal - You can turn the goal feature on or off, and set it to either a certain amount raised, or a certain number of donors.
Date and time - Turn this on if you want to show a start date / time for your fundraiser.
Fundraiser has an end date and time - Turn this on if you want to show an end date / time for your fundraiser.
Fundraiser has a location - Turn this on if you want to show the location of your fundraiser.
Fundraiser Description - Enter all the information donors & participants will need to know.
Cover Image - Upload a banner / header image for your fundraiser.
Add a Video - Allows you to paste a video link so that a video will be displayed instead of the Cover Photo on your fundraising page.
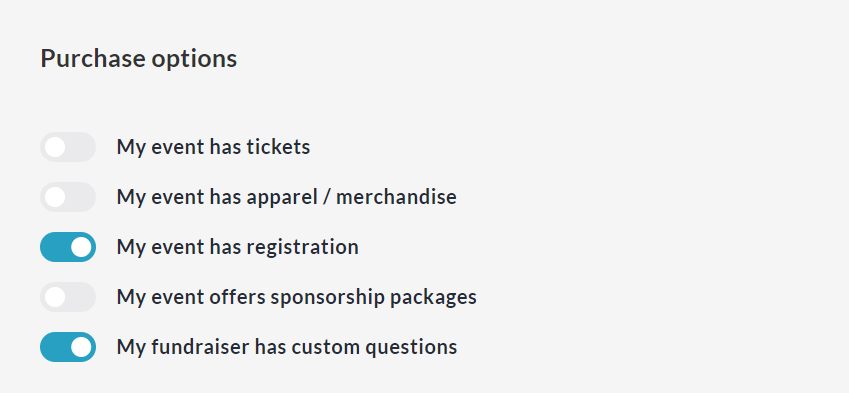
Under Purchase options enable any features you want to use for your fundraiser:
My event has tickets - See How Ticketing Works
My event has apparel / merchandise - See How Merchandise Works
My event has registration - See How Registration Works
My event offers sponsorship packages - See How Sponsorships Work
My fundraiser has custom questions - See How to Use Custom Questions
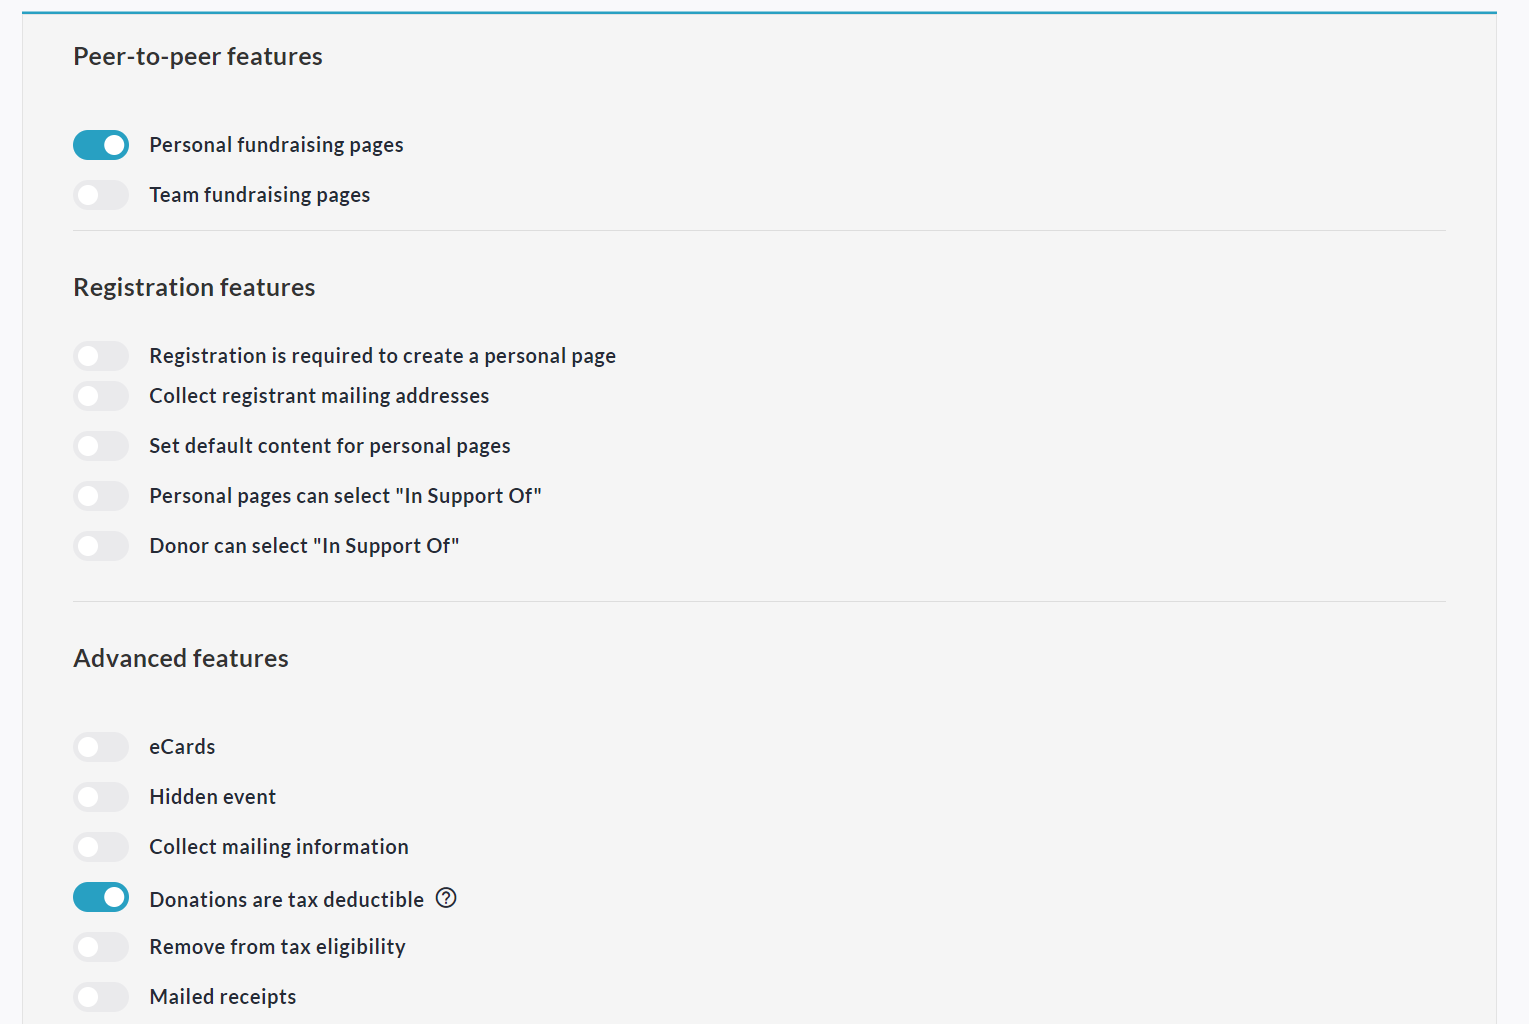
Click Next and enable Peer-to-peer features:
Personal fundraising pages - See How to Create Personal Page
Team fundraising pages - See How to Create a Team
Personal fundraising pages within teams - Allow personal pages to be created under teams.
Set default content for personal pages - Set a default description for personal pages.
Set default content for team pages - Set a default description for team pages.
Enable and set up Registration Features if desired and if Multi-Registration is enabled on your site.
Advanced Features:
Donations are tax deductible - Enable only if you will be issuing tax receipts for this fundraiser.
eCards - Turn on and select Tribute Cards if you would like to set up personal pages ‘In honor of’ or ‘In memory of' individuals. Otherwise, select eCards.
Collect Mailing Information - Turn on if you want to collect donor mailing information specifically.
Allows donors without emails to use their physical address - Let donors donate & register without an email address.
Hidden event - Hide fundraiser from the public so only Admins and those with a link can find it.
Promo codes - Add promo codes for special pricing on Tickets, Merch, and Registrations.
Validate tickets with ticket Scanner - Invite staff, volunteers, etc. to scan unique QR code on the PDF tickets for in person events (Note: Tickets must be enabled under Purchase options).
Show list of donors - Turn on if you want a public facing donor list / leaderboard for your fundraiser.
Start accepting funds on date - Turn on if you want the fundraiser to open automatically at a certain date / time. A countdown will be displayed.
Stop accepting funds on date - Be sure to turn this on to set a close-off date for your fundraiser.
Donation matching - Enable if you would like donations to be matched. You will be able to set up the matching pool and settings through Donation Matching once enabled.
Click the Create Fundraiser button to sign up or log in - if you haven’t already, otherwise, you are ready to start sharing your fundraiser!
You can hide the ‘Share’ button on your fundraiser if desired using the steps below:
From your fundraiser, click Manage Fundraiser in the top-right corner.
Click Design Fundraising Page.
Hover over your banner/hero image and click the Gear icon on the left.
On the right sidebar, within the Layout section, click Set up sharing.
Disable Show on page and click Save at the bottom.