How to Manage Personal Pages
As fundraiser owner, there’s a quick and simple way to manage all personal pages that have been created and create new ones. Just use our intuitive Manage Personal Pages feature!
You can also use this feature to manually create a personal page for a supporter.
To get started, go to your fundraiser and click Manage Fundraiser.
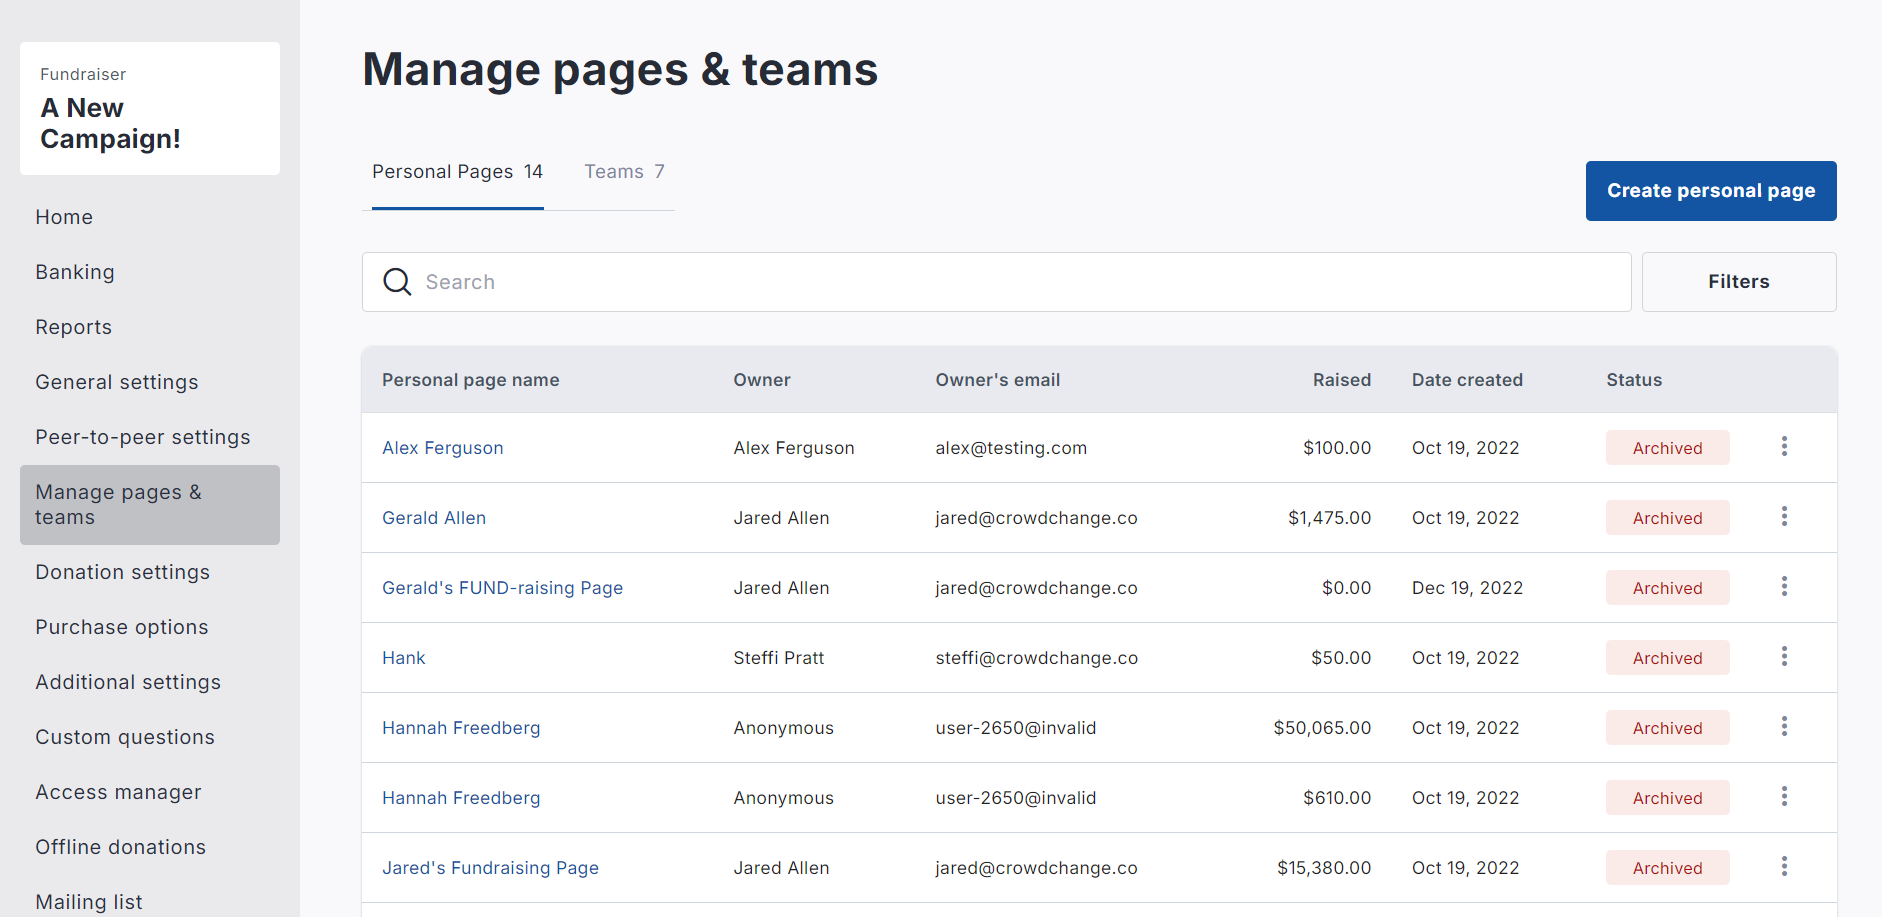
Click Manage pages and teams on the left sidebar.

Once inside the Manage pages and teams menu, you can see helpful statistics on your personal pages, and you have the ability to both create new pages, and view the list of existing pages.
To the right of each page in the list, you can click the triple-dot icon to access management options such as:
Resend Invite, Close, Archive, Un-Archive and Delete.

Clicking the name of the page (on the left) will take you directly to the personal fundraising page.
Clicking the Resend Invite option allows you to re-send the invitation email to the page owner.
Clicking the Archive option allows you to directly archive the page.
Clicking the Delete option allows you to fully delete the page. Before deletion you must give a reason.
Creating a page for a user/participant
To create a page for a user or participant, follow the simple steps below:
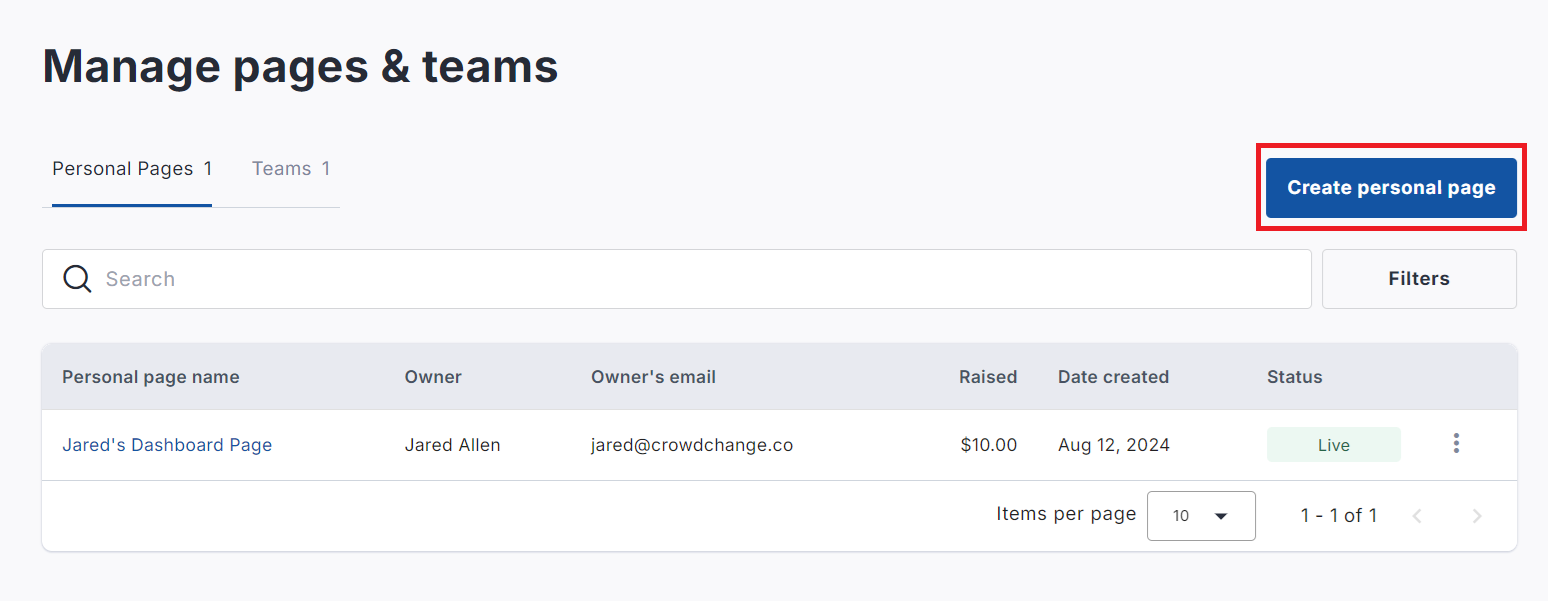
Click Create personal page in the top right corner.

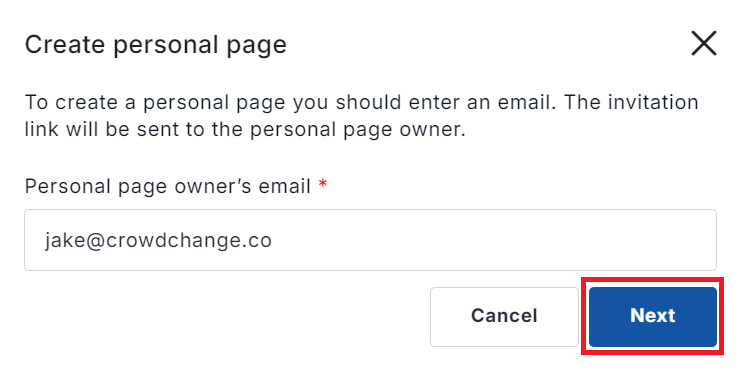
Enter their email address under ‘Create Personal Page’ and click Next.

If they already have a CrowdChange account, their first and last name will populate automatically - if not, enter their first and last name.
Confirm the name and goal amount of the page, connect it to a team if desired, and click Save.
If the user does not already have a CrowdChange account, after the page is created, an invitation email will be sent to them, prompting them to create an account before managing it.
You may also edit the automated trigger email that is sent when a personal page is created by an Admin on someone's behalf. This can be found under Manage Fundraiser → Automated Email Templates → Personal page created by administrator.
