
You can use our Mailing List feature to send out email fundraising campaigns, or just to send a personalized thank you to your donors!
It’s a great way to keep supporters up to date and engaged with your fundraiser, team or personal page.
To get started, follow the simple steps below!
-
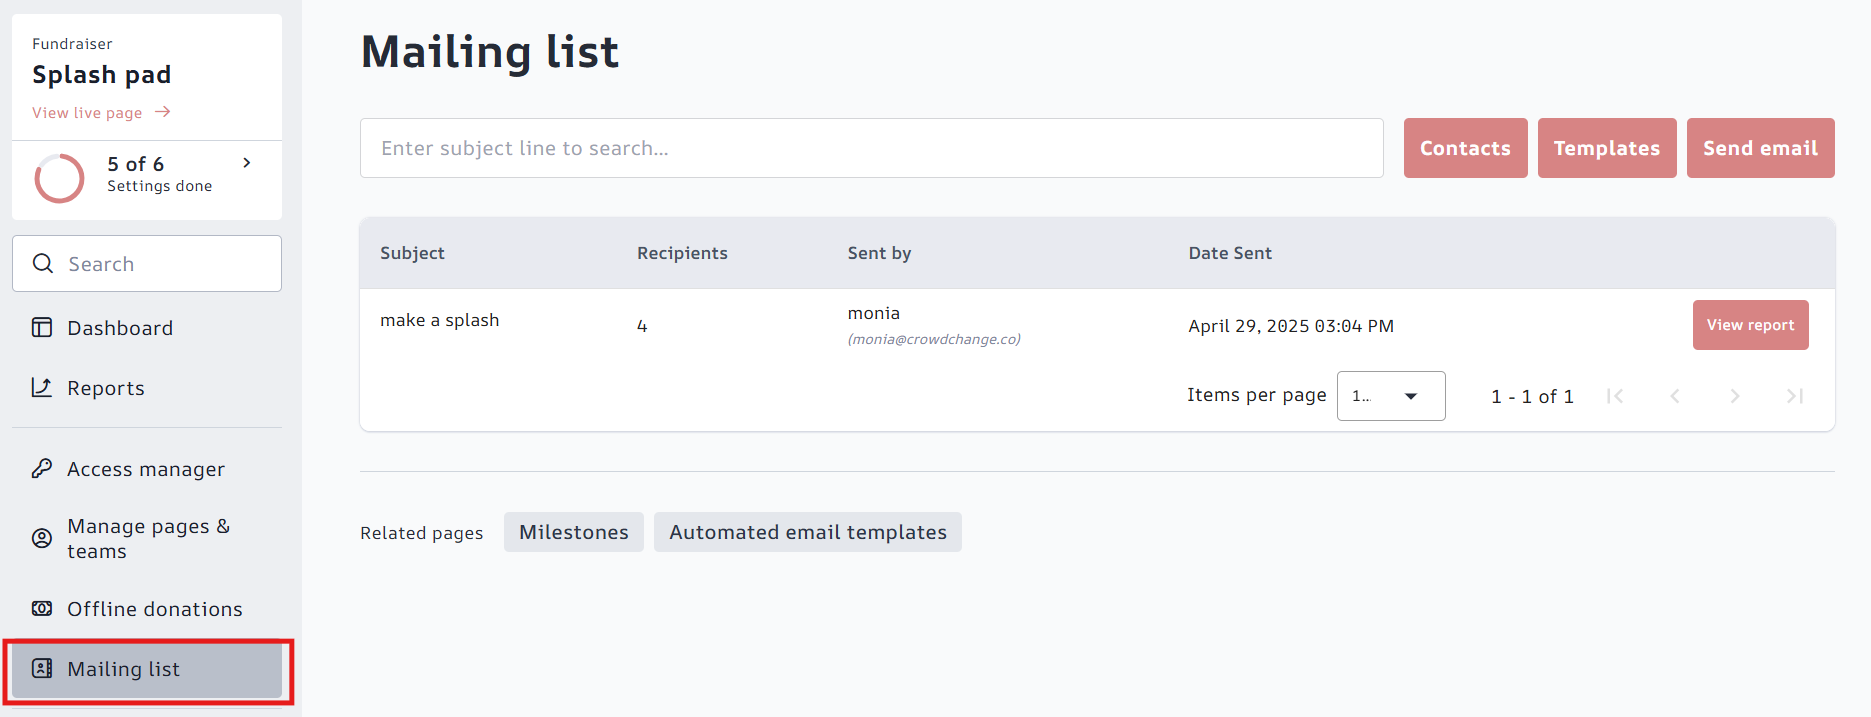
From your fundraiser, click Manage Fundraiser in the top right corner, then Mailing List.
(On a personal page or team, go to Manage my page/team → Mailing List in the top right).
-
You will then be taken to the Mailing List main page, where you have three options:
You may also return here at any time to view information and reports on sent emails.
-
Contacts - From here you can add to and manage your contact list. You may add contacts manually or import them from a CSV file. Donors to your fundraiser/team/page will be added automatically. Team Captains on your fundraiser will be added automatically.
-
Templates - From here you can create and manage your email templates. For detailed tutorials on using email templates, check out the following articles:
-
How to Create a Custom Email Template
-
How to Edit a Pre-existing Email Template
-
How Email Templates Work
-
-
Send email - This is where you will go to send out emails (campaigns).
-
-
To send out your first email campaign, click on Send Email.

-
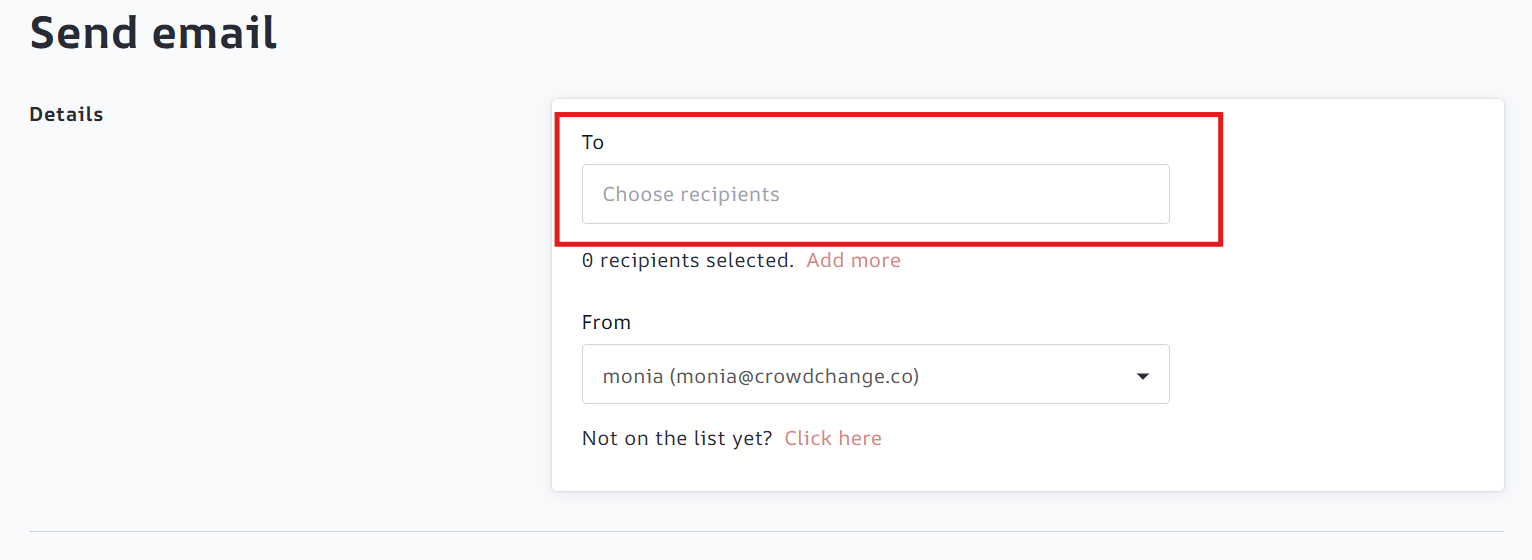
Click Choose Recipients within the To field and select all contacts you’d like to send to.
-
Click the Add Recipients button in the bottom right.
Note that you can use the dropdown in the top left corner to view these lists: Imported Contacts, Donors, Previous Donors and Team Captains. The latter three are automatically stored as contacts.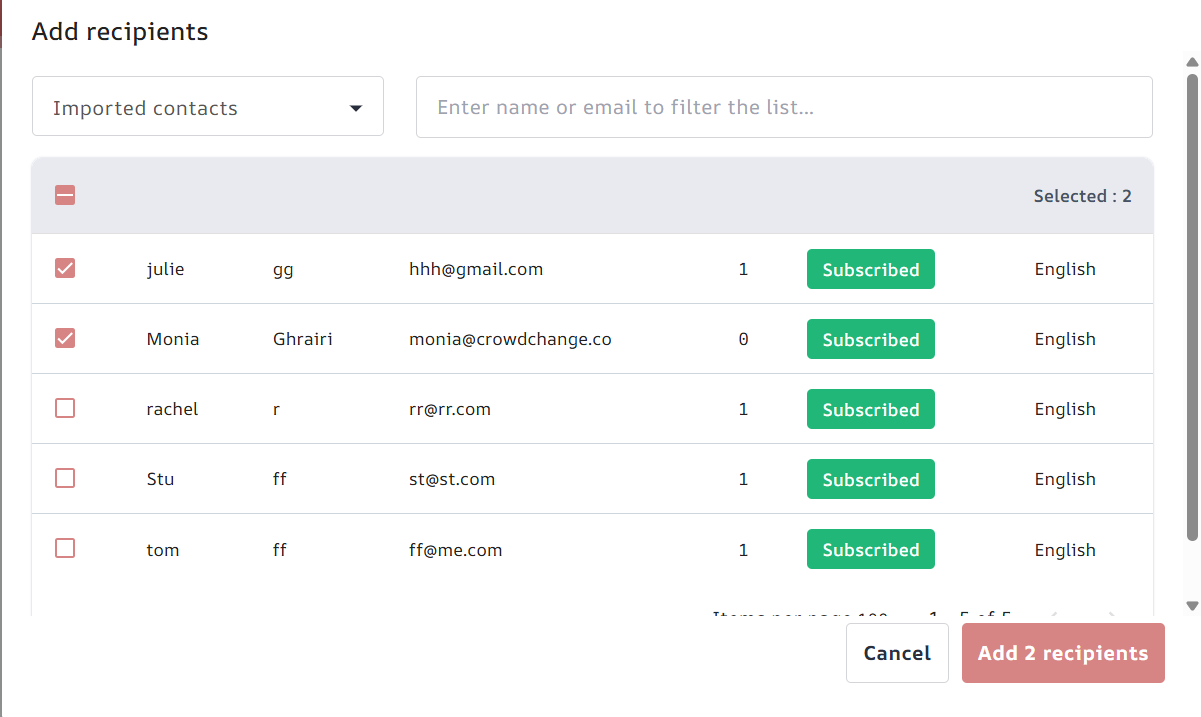
-
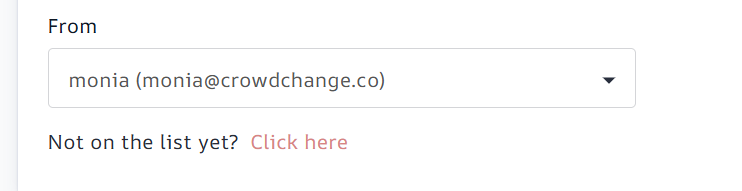
Add and verify your email address in the From field. If you are adding yourself as sender for the first time, CrowdChange will send a verification code to your email to confirm your identity. When you receive the email verification code, copy & paste the code into CrowdChange and click Verify. If you do not receive a verification email, click resend verification code.
-
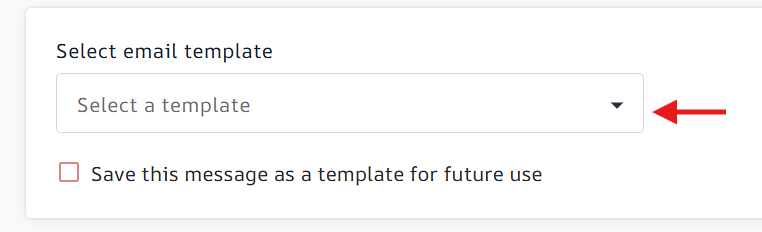
If you would like to use an email template you added previously, select it under Select email template.
-
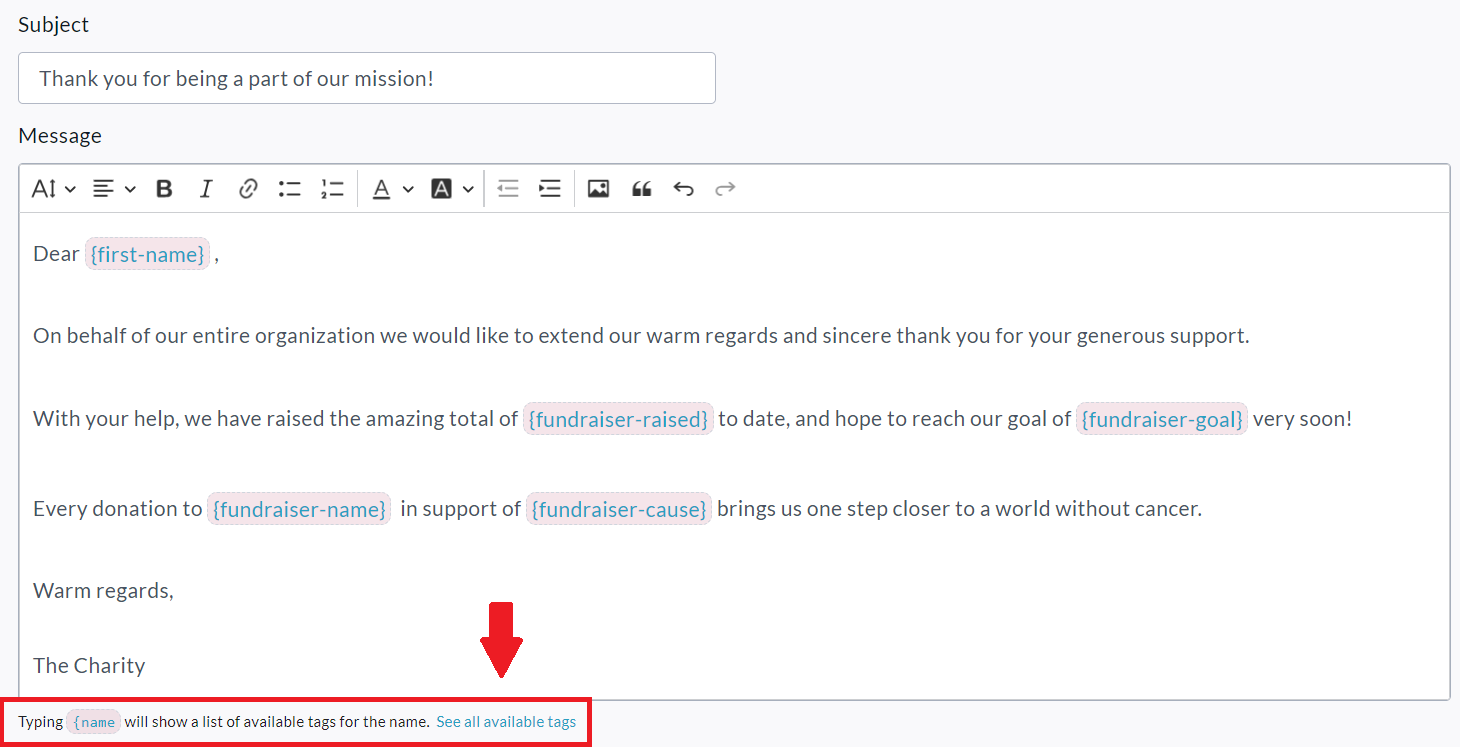
Fill out your Subject and Message fields, using the Dynamic Tags feature to have certain information automatically pulled in when sending a campaign to multiple recipients. This allows you to send one email to multiple recipients, rather than sending many one-recipient emails, and having to enter data like this each time: Recipient First Name & Last Name, Fundraiser Raised Amount, Link to Fundraiser. See further examples in screenshot below. For more info, see How Email Templates Work.
-
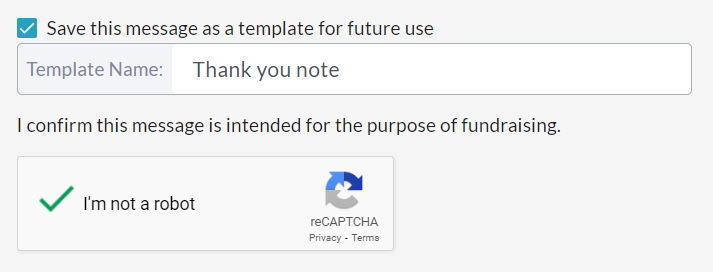
Check the ‘Save this message as a template for future use’ field if desired, and complete the reCAPTCHA verification.
-
If you’d like, you can send yourself a preview email before sending out the email campaign. Simply click the ‘Send preview email’ button to do so.

-
When you are ready, click on the Send button to send out your email campaign.
